Are you a new user of bandsaw? No matter. We have brought some ideas to set up a benchtop bandsaw and they gonna surely make you feel.
A benchtop bandsaw offers a significantly better experience when it comes to making curved cuts or resaws over a regular table saw or a circular saw.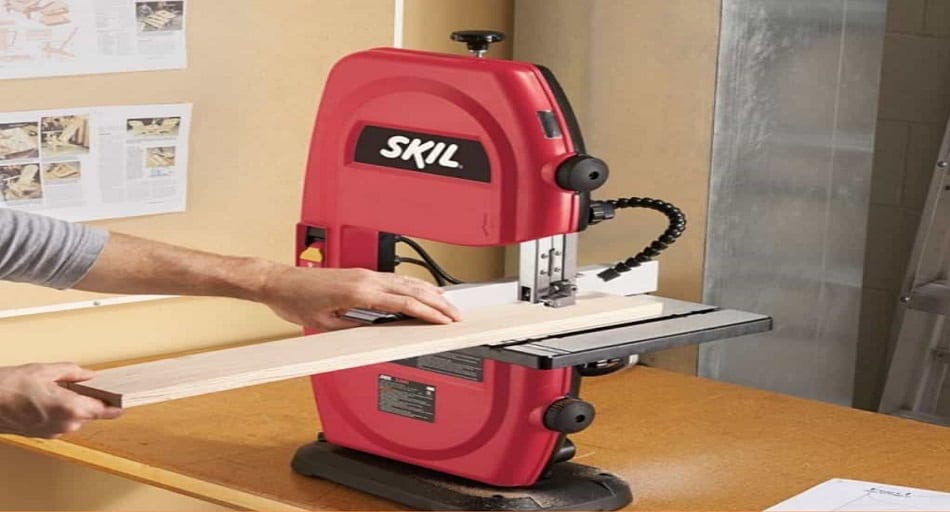
This is due to its belt and blade design that makes it possible to make complicated cuts with relatively less effort and simplicity. While the operation is simple, the machine itself is a lot more complex than most other saws.
So, it is only natural for a newer user to struggle a little when figuring out how to set up a benchtop bandsaw and get it running. This guide is made for such new users to help the initial phase easier while also sharing some helpful tips and precautions to take when setting up a benchtop bandsaw. Surely you will find it if you are a new user or if you have already made your plan to use this tool.
Let’s dive in.
Some Steps to Follow When Setting up a Benchtop Bandsaw:
Bench Height
The first thing to decide before starting to set up your bandsaw is the bench height. This is a tricky thing because you want the bench to be around waist level of the user depending on where they find it comfortable.
But if multiple users are going to operate on it, you will need to get an adjustable table. The reachability is very important here as you are going to do most of the guidance when working on a bandsaw.
Assembly
Then you can assemble the bandsaw according to the instructions provided in the manual. Start by assembling the table and then the wheels and guides inside the frame.
Two wheels and two sets of guides must be installed in total, one for the top of the table and one for the bottom. The method remains fairly similar no matter which type of frame you end up going with.
This is not a complicated process but care must be taken to make sure to avoid the sharper edges of the machine especially at the wheels and the blade.
Blade Setup
Setting up the blade requires you to first select the appropriate size for the kind of work you’re doing. Generally, a ½ inch blade will do fine for most general cutting and light angled cuts. But for tighter angles, you’d need to step it down to a ¼ inch blade.
You can find the appropriate bandsaw blade sizes for the work you want to do in the manual. To install the blade, first, get your main and side guides out of the way. We don’t want them to be in contact with the blade yet. Then manoeuvre the blade around the tire of the upper wheel with the teeth on the right side.
Now, tighten the wheel enough to generate some tension so that the blade will stay in place without you having to hold on to it. Then rotate the wheel a few times until the blade rotates with it and centres itself.
If it does not automatically centre itself, then you can use the alignment knob at the back of the saw to slightly tilt the wheel and make sure the blade is right in the centre. This is essential for proper operation of the bandsaw.
Now fix the proper tension on the wheel using the guide that is present on the bandsaw by setting it to the size of the blade you’re currently using. The recommended tension varies for different bandsaws but you can find all the information classified by blade size so that you can choose the correct tension.
Setting Up the Guides
There are two sets of guides, one at the top of the table and an identical one at the bottom. To set up the guides, you should first start with the side guides by moving them in up to a point where they are slightly touching the blade. Make sure to leave enough space for the blade to move freely between them but not too much so that the guides will be unable to adjust the blade later on.
Next, adjust the thrust bearing which acts as the upper guide to be right behind the blade. It should not be touching the blade but be close enough to it so that you can use it to adjust the blade when making the cut.
Once you’re done adjusting the top bearings, do the same with the bottom set and make sure to use the exact dimensions for both of them. This will ensure that the blade is directed evenly and will avoid any unexpected results.
Secure the Table
Next, set up and secure your table so that it does not move or distort unevenly when working. To ensure this stability, the bandsaws come with a small bolt called the throat plate which will hold the table together. Make sure to tighten it properly before moving on.
Smoothen the Blade
This is an often-overlooked step which is to calibrate the bandsaw blade by softening it. You can do this manually by using sandpaper and scrubbing through the whole blade.
If you’re a little more confident about your skill with tools, you can also do it after setting up the whole thing. Simply turn on the bandsaw and as the blade is running, hold the sandpaper to it with proper support. This would make the task a lot easier and faster.
Device Calibration
Make sure there is enough room for your workpiece to run through. If there is too little space, the blade might bog down or even get stuck. If there is too much space, the cuts could be unstable.
You have to take note of the available space and adjust it according to the material you’re going to be working on next and leave an appropriate amount of space between the table and the blade.
Check for Inconsistencies
Next, you can start the bandsaw and check if the blade is moving in a straight line. There shouldn’t be any backwards and forwards or side movement as that only happens when you use the guides to change the blade’s movement when cutting.
If you notice any unwanted movement of the blade, adjust the guides to be slightly tighter so that they hold the blade more securely.
Once you’re convinced that the blade is operating well, then your benchtop bandsaw is set up and ready for use.
Some Precautions When Setting Up a Bandsaw:
- The blades come folded and unfolding them will release all the tension so you will have to be careful with how you handle it and secure it in your hands so that it does not thrash around.
- Always use safety gloves and goggles so that any accidents from the blade will not cause serious injuries.
- Make sure that the teeth of the blade are facing the right cutting direction or it won’t be able to perform any cuts at all.
- The blade must always be right in the centre sticking to the tire of the wheel for the saw to work optimally.
While a benchtop bandsaw is a fantastic tool that will greatly improve your work and boost your productivity, setting it up could be very frustrating and time-consuming if you don’t know what to do.
This guide is made to make this process a little easier by talking about the basics as well as other important points to consider when setting up the band saw. Home and Tools is always here to bring out amazing ideas for you. Never forget to share your feelings with us.
Leave a Reply